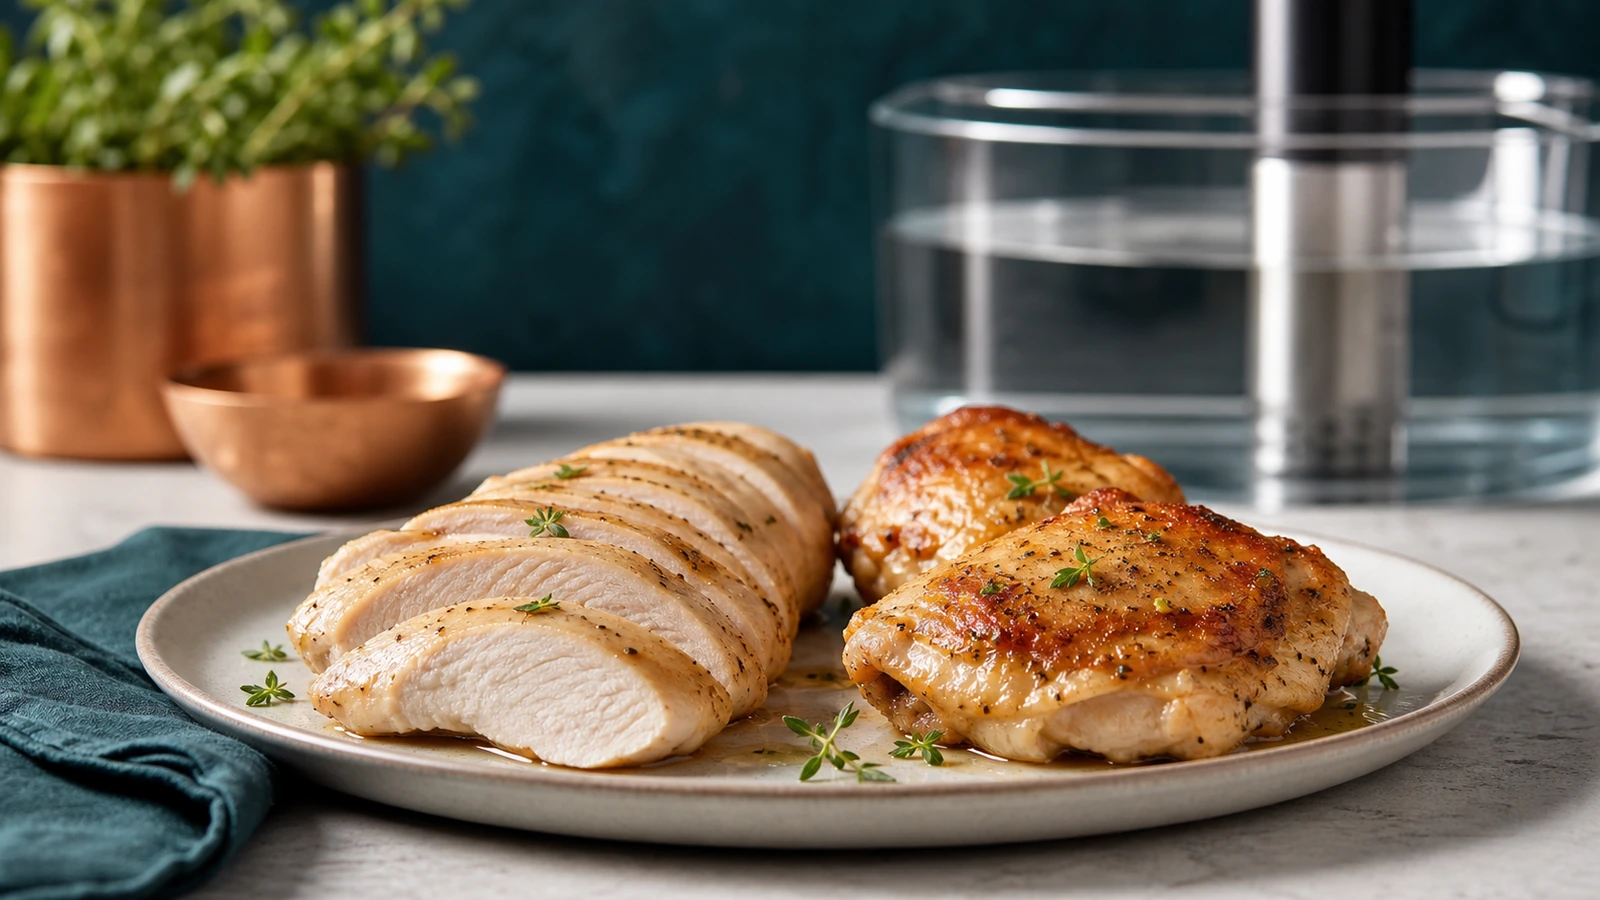
Use this guide in order: choose a bath temperature for texture, measure the thickest point, then use the matching total time. Do not use the lower-temperature table for frozen, bone-in, rolled, stuffed, irregular, or crowded chicken. Those conditions change heating behavior and need a schedule that explicitly covers them.
Quick temperature guide: texture first, safety schedule second
| Cut | Bath temperature | Texture direction | Time decision |
|---|---|---|---|
| Boneless chicken breast | 140°F (60°C) | Very juicy, soft | Use total time by thickness below. |
| Boneless chicken breast | 145–146°F (63–63.5°C) | Juicy, tender, more familiar | Use total time by thickness below; Table 4.1 column is 145.5°F (63°C). |
| Boneless chicken breast | 149°F (65°C) | Firmer texture | Use total time by thickness below. |
| Thighs, drumsticks, leg quarters | Choose a cut-specific recipe | More heat and time can change connective-tissue tenderness | Do not substitute breast-table times for bone-in or irregular pieces. |
Anova’s temperature guide is useful for thinking about culinary texture, especially for breast meat. It is not the pathogen-reduction schedule used in this article. USDA FSIS lists 165°F (74°C) for poultry as a straightforward endpoint; a lower bath temperature is not equivalent unless the coldest point gets the required cumulative time.
Before using lower-temperature times: pass this five-point check
- Thawed: chicken begins at 41°F (5°C), not frozen or partly frozen.
- Model fit: Table calculations use a 2:3:5 box model. Do not assume every boneless breast matches that model, especially if it is very uneven, rolled, stuffed, or bone-in.
- Measured: thickness comes from the thickest point, not average thickness or package label.
- Circulating: water can move freely around each submerged bag.
- Separated: bags and pieces stay in one layer rather than forming an insulated stack.
If any answer is no, stop using the table. Choose the USDA 165°F (74°C) endpoint or use a published schedule that explicitly covers the exact starting condition and shape. This check is the key decision tool: it prevents a precise-looking time from being applied outside its evidence.
Chicken pasteurization time by thickness
These are total bath times, not extra holding times after the chicken reaches bath temperature. Douglas Baldwin’s Table 4.1 calculates poultry schedules for a 1-in-1-million reduction in Listeria and a 1-in-10-million reduction in Salmonella. Values below exactly reproduce its 20–50 mm rows for poultry starting at 41°F (5°C) in a 134.5–149°F (57–65°C) circulating water bath; Baldwin calculates those rows with a 2:3:5 box model.
| Maximum thickness | 140°F (60°C) | 145.5°F (63°C) | 149°F (65°C) |
|---|---|---|---|
| 0.8 in (20 mm) | 1¼ hours | 50 minutes | 40 minutes |
| 1.0 in (25 mm) | 1½ hours | 1¼ hours | 55 minutes |
| 1.2 in (30 mm) | 2 hours | 1½ hours | 1¼ hours |
| 1.4 in (35 mm) | 2¼ hours | 1¾ hours | 1½ hours |
| 1.6 in (40 mm) | 2½ hours | 2 hours | 1¾ hours |
| 1.8 in (45 mm) | 3 hours | 2¼ hours | 2 hours |
| 2.0 in (50 mm) | 3¼ hours | 2½ hours | 2¼ hours |
How to choose correct table row
- Measure chicken at its thickest point before bagging.
- Round up to next thicker row. A 1.1-inch piece uses 1.2-inch (30 mm) row.
- Set bath to listed temperature and start timing when chicken enters a fully heated, circulating bath.
- Keep bags fully submerged, with water moving around all sides.
Thickness matters because center heats slower as thickness increases. It also explains why one recipe’s “two hours” cannot safely cover every breast in a package.
What table does not answer
Frozen chicken: do not add a guessed amount of time. Use a method that explicitly validates frozen starts, and keep pieces individually separated rather than frozen into a block.
Bone-in or irregular cuts: bone, joint shape, and uneven meat thickness mean the 2:3:5 box calculation may not represent the piece. Use a recipe that gives time and temperature for the exact cut or choose USDA’s 165°F (74°C) endpoint.
Extra-long cooking: after required time, more time is mostly texture choice. Breast can become unusually soft; dark meat can continue tenderizing. Safety time does not define a universal maximum or ideal texture.
Cook now or chill chicken for later
Serve chicken immediately after cooking, or cool it while still sealed in an ice-water bath with at least half ice. Baldwin Table 1.1 estimates cooling from 130–175°F (55–80°C) to 41°F (5°C) using its slab-like column: at 20 mm in 35 minutes, 25 mm in 50 minutes, 30 mm in 1¼ hours, 35 mm in 1½ hours, 40 mm in 1¾ hours, 45 mm in 2¼ hours, and 50 mm in 2¾ hours. Cylinder-like and sphere-like pieces use different columns in the source table. These are thickness-dependent center-cooling estimates, not generic “ice bath for a few minutes” advice.
USDA FSIS identifies ice or cold-water baths as rapid-cooling methods and advises prompt refrigeration. The FDA Food Code 2022 is a retail model code, not a home storage schedule, but its reduced-oxygen cook-chill rules show why controlled cooking, rapid cooling, cold holding, labeling, and shelf-life controls belong together. Do not infer refrigerator storage time from cooking temperature alone.
Finish without overcooking
- Remove chicken from bag and discard raw-contact packaging.
- Dry surface thoroughly.
- Sear only long enough to brown surface or crisp skin.
- Serve, or start ice-water cooling immediately if cook-chilling.
Long finishing heat can push a thin breast beyond texture you selected in bath. For setup and bagging basics, see what sous vide is and how it works. If you use water displacement instead of a vacuum sealer, use this guide to sous vide without a vacuum sealer; for packaging questions, see our sous vide bag safety guide.
Common questions
Is chicken safe at 140°F?
For chicken within this guide’s narrow scope, 140°F (60°C) can follow Baldwin’s published calculated schedule. A 25 mm piece needs 1½ hours total; a 50 mm piece needs 3¼ hours total. A brief 140°F reading does not meet that schedule. For a simple USDA endpoint, use 165°F (74°C).
How long should I sous vide chicken breast?
Measure first. At 145.5°F (63°C), Table 4.1 gives 1¼ hours for a 25 mm breast and 2½ hours for a 50 mm breast, assuming thawed chicken starting at 41°F (5°C) under Baldwin’s 2:3:5 box model. Use next thicker row when between measurements.
Can I use this chart for chicken thighs?
Not for typical bone-in thighs. Table geometry does not cover bones, joints, or irregular thickness. Use a cut-specific recipe, or use USDA’s 165°F (74°C) endpoint rather than treating breast data as a universal poultry chart.
This research-based guide uses USDA and FDA food-safety guidance, Baldwin’s time tables, and Anova’s culinary texture guidance. Sources were checked August 1, 2026; no hands-on testing was used.