What sous vide means
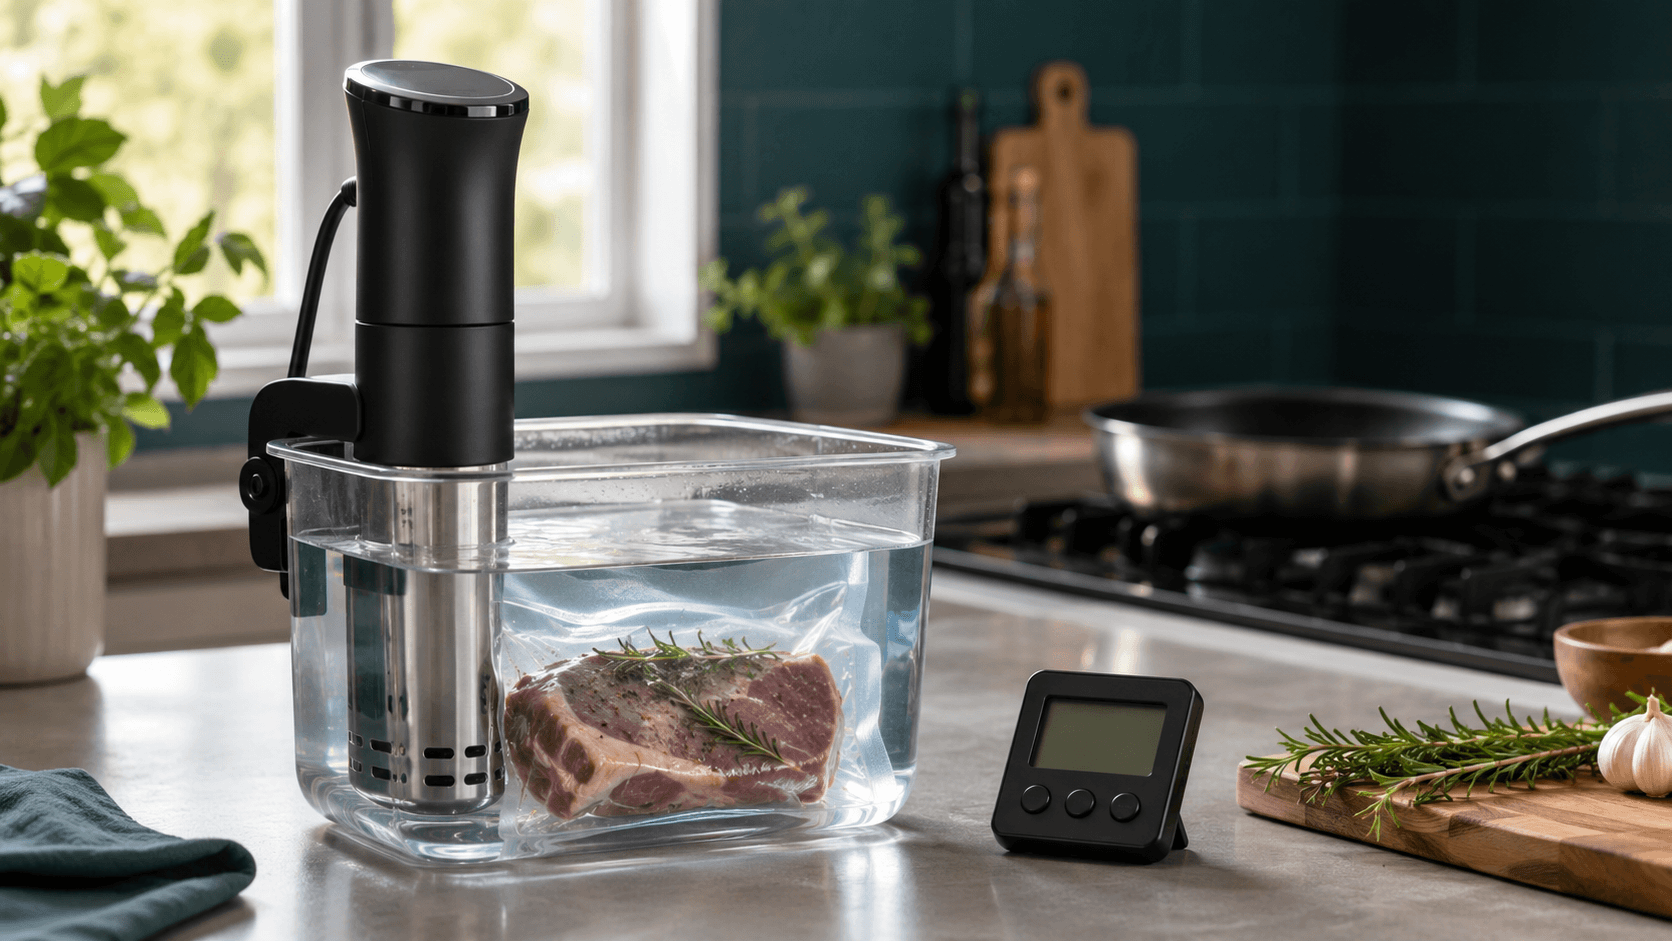
Sous vide is French for “under vacuum,” but a full vacuum is not required for every cook. In modern home cooking, the term usually describes food sealed away from the bath water and cooked with precise temperature control. An immersion circulator heats and moves the water so the bath stays close to the selected temperature.
The bag keeps bath water away from the food and helps maintain contact between the food and surrounding water. Depending on the bag and recipe, you can remove air with a vacuum sealer or use water displacement with a purpose-made bag whose manufacturer supports the intended cooking conditions.
How sous vide cooking works
Traditional cooking often exposes food to air, metal, or oil much hotter than the desired internal temperature. The outside heats first, creating a temperature gradient between the surface and center. Sous vide uses a bath set much closer to the desired internal temperature, so the difference between edge and center can be smaller.
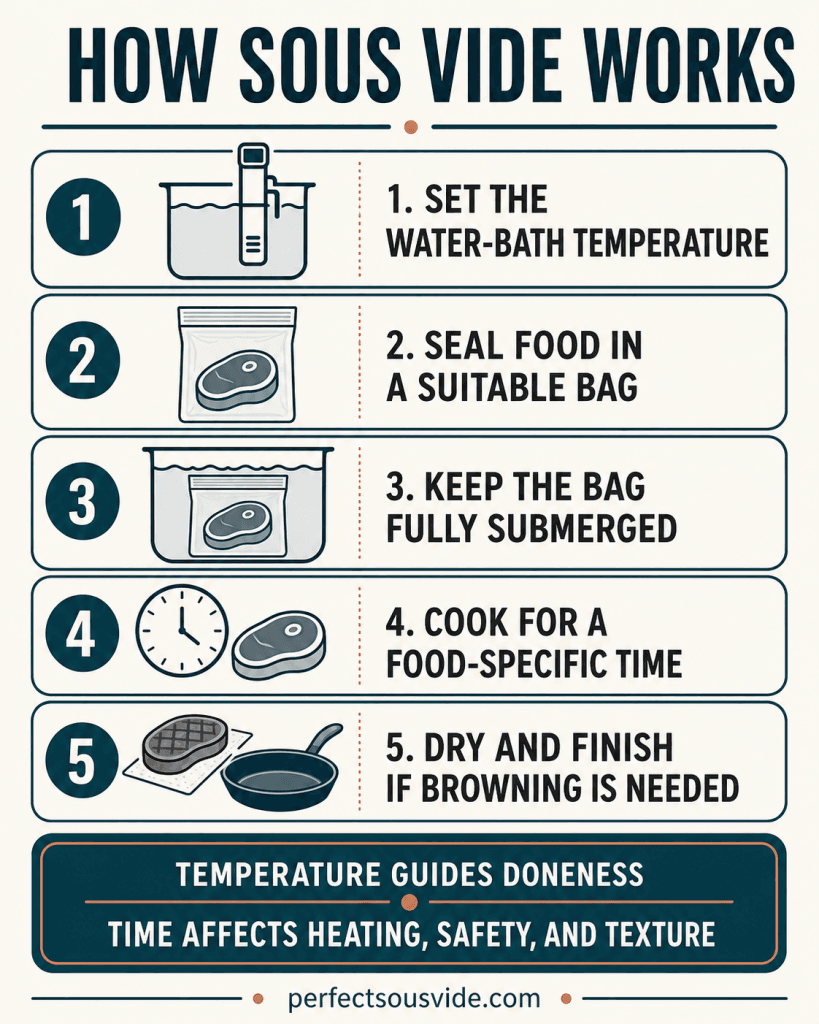
- Fill a suitable container with water.
- Attach the immersion circulator and set the required bath temperature.
- Season and seal the food in a suitable bag.
- Submerge the food while keeping the circulator’s intake and outlet clear. If bags move, overlap, or need separation, use the racks, weights, and clips compatibility guide before adding restraint.
- Cook for a food- and thickness-appropriate time.
- Remove the food, dry the surface, and finish it if browning is desired.
Temperature controls doneness; time still matters
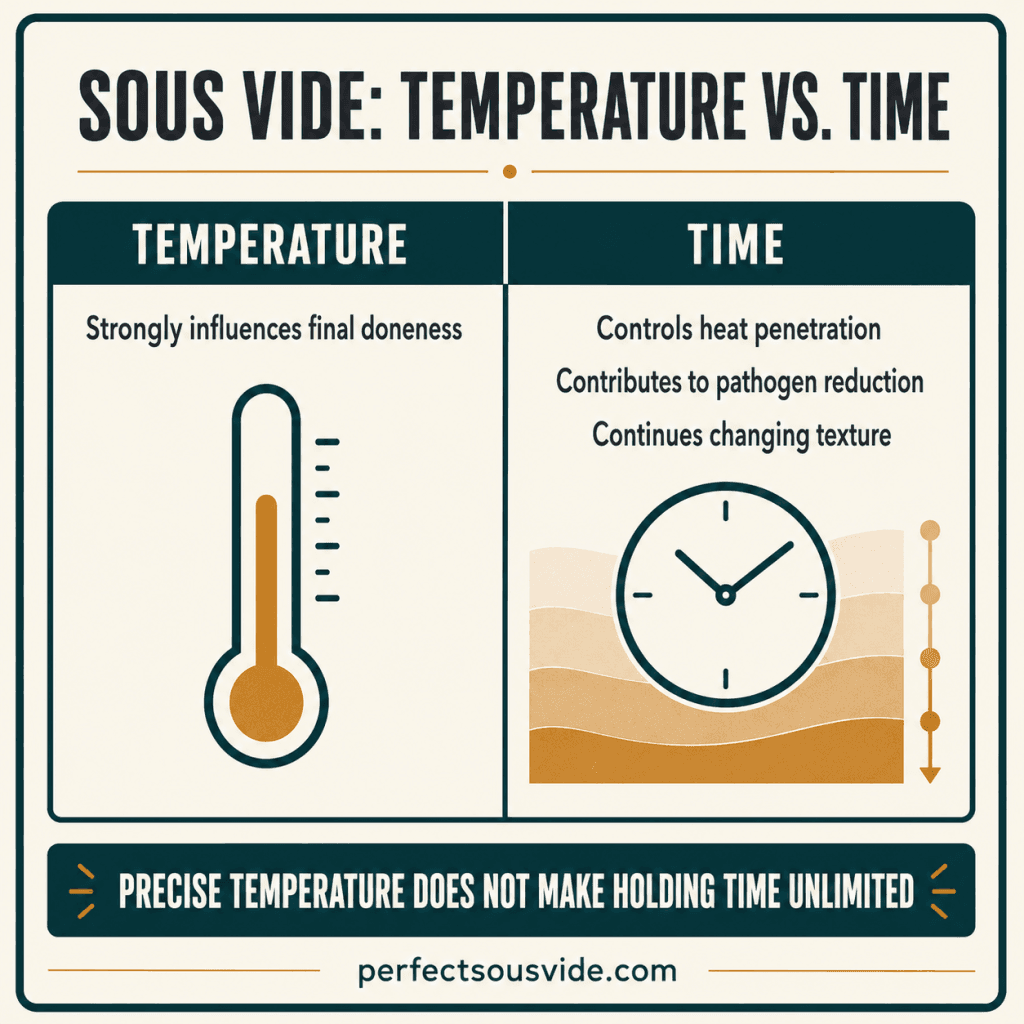
Bath temperature places an upper limit on the food’s eventual equilibrium temperature. That is why sous vide can produce a more even band of doneness than a hot pan or oven. But the center does not reach bath temperature instantly, and food does not stop changing once it gets close.
Time affects heat penetration, pathogen reduction, tenderness, and texture. As explained in Douglas Baldwin’s technical sous vide guide, heating time depends strongly on food thickness and shape, while pathogen reduction depends on both temperature and holding time. A steak can remain at a similar level of doneness while becoming softer over a long hold. Fish, eggs, and some vegetables can also move beyond their preferred texture. Sous vide offers a wider serving window for many foods—not unlimited holding time.
What sous vide does well
- Even doneness: reduces the overcooked outer band common with hotter cooking methods.
- Repeatable settings: the same equipment and preparation make results easier to reproduce.
- Flexible timing: many foods have a useful serving window rather than one narrow finish moment.
- Batch cooking: individually sealed portions can share a bath when their required schedules are compatible.
- Temperature control: useful for foods whose texture changes within a narrow temperature range.
What sous vide does not do
- It does not brown food in the bag.
- It does not make every cut tender at the same temperature and time.
- It does not make an unsafe schedule safe because the temperature is precise.
- It does not prevent texture changes during a long hold.
- It does not make vacuum-packed food shelf-stable. The FDA Food Code treats sous vide as reduced-oxygen packaging and requires specific controls for time, temperature, cooling, storage, and handling in regulated food operations.
For browning, dry the surface thoroughly and use a short, hot finishing step appropriate to the food. The goal is to build color without reheating the interior more than necessary.
Equipment you need to start
Immersion circulator
This is the heater and pump that controls the bath. Important beginner considerations include controls, clamp fit, water-level requirements, noise, app dependence, and container capacity. Our guide to the best sous vide machines compares current options separately.
Container
A stockpot can work for a first cook if the circulator clamps securely and the water stays between its minimum and maximum marks. Larger or longer cooks benefit from a fitted container and lid because exposed water loses heat and evaporates. See our sous vide container guide for fit and size considerations.
Suitable bags
Use a purpose-made bag whose manufacturer supports sous vide or the required heated-food contact. Match the bag to your sealing method: reusable silicone for water displacement, embossed bags for external suction sealers, or smooth pouches for chamber sealers. Our best sous vide bags guide explains those formats, while our article on bag safety and microplastics covers material questions.
A vacuum sealer is optional. The water displacement method can remove much of the air from a compatible bag without buying another appliance.
Is sous vide safe?
Sous vide can be used safely, but precision temperature control is only one part of the process. Safety depends on the food, thickness, starting temperature, bath temperature, time, handling, and whether the food is served immediately or chilled for later.
Doneness and pasteurization are not the same. A food can reach a preferred texture before a selected pathogen-reduction target is achieved. Baldwin’s time-and-temperature discussion and pasteurization tables show why food type, thickness, starting condition, temperature, and holding time must remain attached to the schedule. One familiar endpoint temperature should not be converted into a lower-temperature schedule without a source that includes those conditions.
Use a food-specific reference rather than a universal rule. The USDA safe temperature chart provides simple conventional endpoints, while technical sous vide references can account for time and thickness. Start with our chicken or steak guides for common first cooks. We also maintain food-specific guides for beef tenderloin, salmon, shrimp, lobster tail, eggs, pork tenderloin, pork chops, pork loin, chuck roast, turkey breast, and sous vide carrots.
If you cook ahead, rapid-chill the sealed food in an ice-water bath first, then refrigerate or freeze it promptly. The USDA Food Safety and Inspection Service advises refrigerating cooked food within two hours and identifies an ice or cold-water bath as a rapid-cooling option. The FDA Food Code also shows that sous vide and other reduced-oxygen packaging processes require tightly controlled cooking, cooling, cold storage, and handling; its commercial requirements should not be simplified into one universal home schedule.
How to plan your first sous vide cook
- Choose one simple food. Avoid combining products with different schedules during the first cook.
- Use a food-specific guide. Select bath temperature and time for the exact cut, thickness, and desired result.
- Check the setup. Confirm water level, container stability, circulation clearance, and bag compatibility.
- Seal without trapped air. Keep the closure above water unless the bag is designed for full submersion.
- Keep the food submerged. Use a rack, clip, or suitable weight when buoyancy becomes a problem.
- Cook for the full schedule. Start timing according to the guide and equipment instructions you are following.
- Finish or rapid-chill. Dry and sear for immediate service, or use an ice-water bath before prompt refrigeration or freezing.
Common beginner mistakes
- Choosing time only for texture: food-safety conditions may require a different schedule.
- Assuming longer never hurts: texture can continue changing.
- Leaving air in the bag: floating and uneven contact can follow.
- Blocking circulation: overcrowded bags can reduce water movement.
- Using an unidentified bag: storage packaging is not automatically suitable for heated immersion.
- Skipping surface drying: wet food browns slowly and reheats internally while moisture evaporates.
- Ignoring evaporation: long cooks can expose food or trigger low-water shutdown.
Sous vide compared with a slow cooker
Both methods can be hands-off, but they solve different problems. Sous vide emphasizes precise water-bath temperature and even doneness in sealed portions. A slow cooker cooks food directly in a heated crock, usually with liquid and a larger temperature gradient. Our sous vide vs. slow cooker comparison explains when each method fits better. For a hot-air workflow instead, see the sous vide vs. air fryer comparison.
The bottom line
Sous vide replaces a very hot cooking environment with a controlled water bath closer to the food’s desired internal temperature. That can improve evenness and make timing more flexible, but time still changes texture and safety still depends on the full food-specific process. Start with one simple food, a compatible bag, a stable bath, and a trustworthy schedule.
Sources and methodology
This research-based beginner guide compares official food-safety guidance with established sous vide technical references. Sources were checked July 29, 2026.