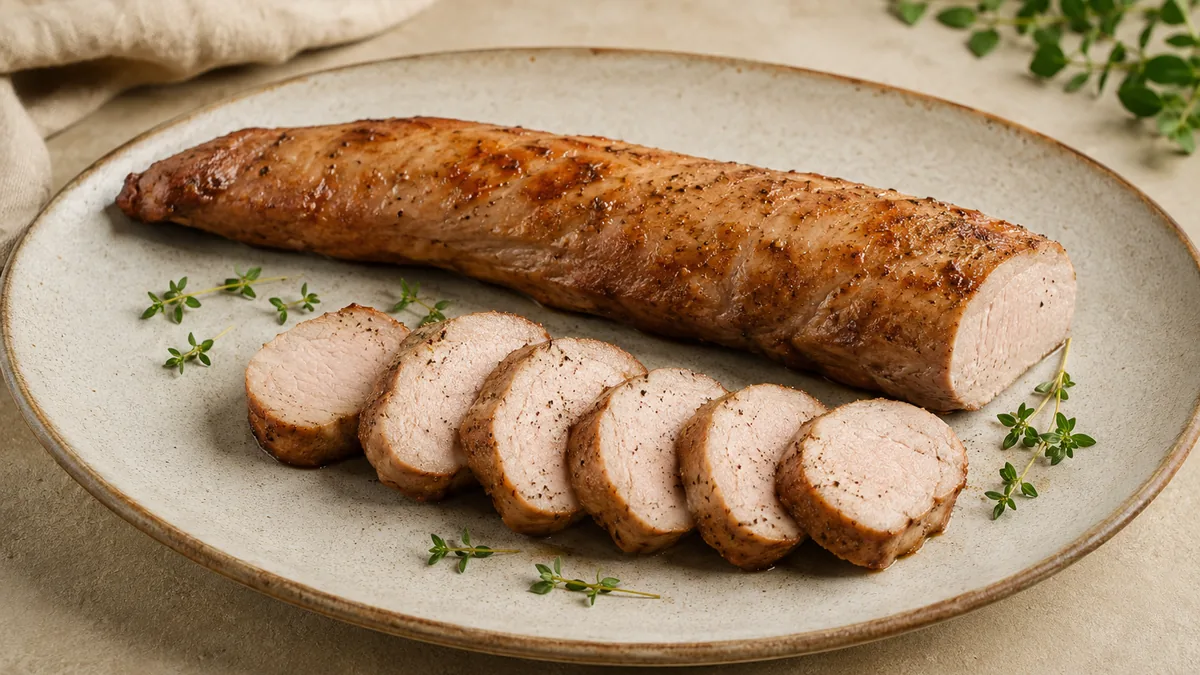
Check the package: tenderloin, not loin
Use this guide only when the package says pork tenderloin. If it says pork loin or pork loin roast, stop here and use guidance written for that labeled cut. If it says pork chops, use the separate sous vide pork chops time and temperature guide. If it says raw pork spare ribs, use the sous vide pork spare ribs guide. This article does not provide a conversion between cuts.
Choose temperature by texture
| Bath temperature | Expected result | Choose it when | Timing path |
|---|---|---|---|
| 135°F / 57°C | Very pink and soft | You specifically want a low-temperature texture | Outside this article’s timing table; use a separately verified cumulative schedule. |
| 140°F / 60°C | Pink, juicy, tender | You want the lead balance of tenderness and a pink center | Use the thickness table below. |
| 145.5°F / 63°C | Firmer and less pink | You prefer moderate doneness | Use the thickness table below. |
| 151°F / 66°C | Firm with little pink | You prefer a more traditional firm texture | Use the thickness table below. |
Texture descriptions are adapted from Anova’s culinary guide; they are not results from a Perfect Sous Vide cooking test. USDA’s 145°F plus 3-minute-rest rule is a straightforward whole-cut endpoint, but it does not by itself validate a lower bath temperature.
Measure thickness, then choose total time
Use this sequence: choose temperature → measure the thickest part across its shortest dimension → move up to the next thicker row when between sizes → confirm that every table limit fits. Length and weight do not select a row here. If the thickest part is 47 mm, for example, use the 50 mm row.
| Thickest dimension | 140°F / 60°C | 145.5°F / 63°C | 151°F / 66°C |
|---|---|---|---|
| 40 mm / 1.6 in | 2 hr | 1 hr 45 min | 1 hr 30 min |
| 45 mm / 1.8 in | 2 hr 15 min | 2 hr | 1 hr 45 min |
| 50 mm / 2.0 in | 2 hr 30 min | 2 hr 15 min | 2 hr |
| 55 mm / 2.2 in | 3 hr | 2 hr 30 min | 2 hr 15 min |
| 60 mm / 2.4 in | 3 hr 15 min | 2 hr 45 min | 2 hr 30 min |
Read this before using the table: These are direct entries from Baldwin’s public Table 5.1. They apply to thawed meat starting at 41°F (5°C) and describe total time for at least a three-million-to-one reduction in Salmonella under the source’s model. For pieces above 30 mm, that model simulates the heating speed of a 2:3:5 box. A tenderloin is not literally that box shape, so treat the table as guidance bounded by its assumptions—not a universal promise for every piece.
- Measure after trimming and before cooking, at the thickest part’s shortest dimension.
- Use this table only for thawed tenderloin from 40 to 60 mm (1.6 to 2.4 inches).
- Do not use it for frozen, stuffed, tied or rolled, unusually irregular, or thicker pieces.
- Do not use it when bags touch, crowd the bath, float, or prevent free water circulation.
- If any limit does not fit, use guidance validated for that condition instead of adding guessed time.
Prepare, bag, and cook
- Remove silver skin and measure the thickest part.
- Choose temperature, then select the matching row or next thicker row.
- Season with salt, pepper, dry spices, or aromatics. Marinade is optional; this guide makes no claim that it tenderizes or penetrates the center.
- Place tenderloin in a thin, food-safe pouch in one uncrowded layer with good meat-to-bag contact. A zipper bag can work when used correctly; see how to sous vide without a vacuum sealer.
- Preheat a circulating bath, fully submerge the pouch, and keep water moving freely around every side. If selecting equipment, see our guide to choosing a sous vide machine.
- Start the table time only after placing the thawed, measured tenderloin into the preheated bath.
The source table does not provide separate adjustments for different bag products. This article applies it only to a thin, fully submerged food-safe pouch with close contact and good circulation. For material and use questions, see our guide to sous vide bag safety.
Dry and sear briefly
Remove the tenderloin, discard bag liquid, and dry the surface thoroughly. Brown it with brief contact in a very hot pan, on a hot grill, or with a torch, then slice and serve. Drying supports browning; short contact limits additional cooking beneath the surface. Searing adds color and flavor but cannot replace the center-heating and pathogen-reduction time.
Know when this schedule does not apply
- Frozen: Thaw first. The table starts at 41°F (5°C), so this article does not add a guessed frozen-time bonus.
- Thicker than 60 mm: Do not reuse the last row. Find a source covering the measured thickness.
- Stuffed, tied, rolled, or highly irregular: Shape and heat flow differ from the table assumptions.
- Pork loin or another cut: Use cut-specific guidance rather than adapting tenderloin times.
- Cook-chill or delayed service: This article covers cooking and serving, not a home vacuum-packed storage schedule.
Troubleshoot the result
- Firmer than wanted: Choose a lower listed temperature next time, but still use its full thickness-based schedule and limits.
- Uneven result: Recheck the thickest measurement, pouch contact, bag spacing, submersion, and circulation. Irregular pieces may fall outside this table.
- Weak browning: Dry the surface more thoroughly and use a hotter finishing surface for less time.
- Chewy strip on the outside: Remove silver skin before bagging.
- Cut label does not match: Stop and switch to guidance for the labeled cut.
Cook-chill requires separate controls
Reduced-oxygen cook-chill handling requires controls beyond choosing bath time, including cooling and cold holding. The FDA Food Code addresses such processes for retail food operations; it is not a home storage timetable. If you will not serve the pork soon after cooking, use guidance specific to your cooling, storage, and reheating plan.
Sources
- USDA FSIS Safe Temperature Chart
- USDA FSIS: Fresh Pork From Farm to Table
- Douglas Baldwin, A Practical Guide to Sous Vide Cooking
- FDA Food Code 2022
- Anova Culinary: Sous Vide Pork Tenderloin Guide
This research-based guide compares USDA whole-pork guidance, Baldwin’s public Table 5.1, FDA cook-chill controls, and attributed culinary guidance. Sources were checked August 1, 2026.